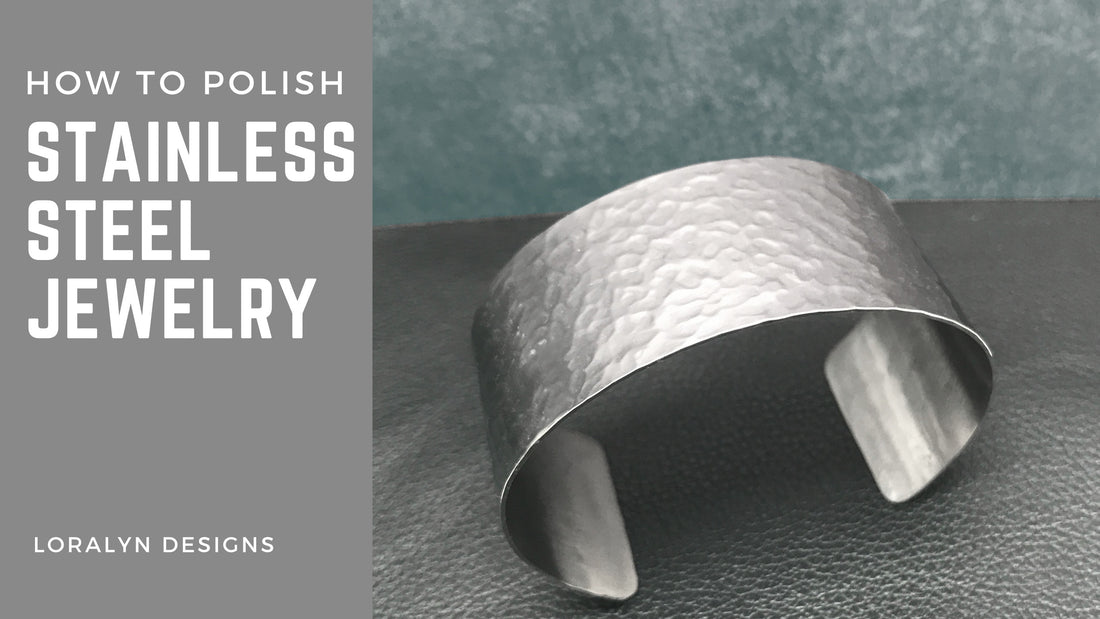
Removing Scratches and Polishing Stainless Steel Jewelry
Share
Stainless steel jewelry is known for its durability and non-tarnish sleek appearance. However, like any other metal, it can develop scratches and lose its luster over time if exposed to chemicals. In this article, we'll cover how to remove minor and major scratches and the best methods for polishing your stainless steel jewelry. All links provided below are for products I currently use in my business and know work well. I do earn a commission if you purchase from them.
REMOVING SURFACE STAINS

For surface stains like dirt or water spots, you can simply wipe down your piece with a soft terry or microfiber cloth dipped into a sudsy mix of dish washing soap and water. When complete, rinse and dry thoroughly.
REMOVING MINOR SCRATCHES AND STUBBORN STAINS

For minor scratches and stubborn stains, you have a few options.
- Mix baking soda and water to make a paste.
- Non-Gel Toothpaste
- WD-40 (little bit)
With all of the above methods, you will use a soft brush or microfiber towel and gently scrub your piece in circular motions until you achieve your desired result. Always remember to rinse and dry your piece when you are done.
REMOVING DEEPER SCRATCHES AND BRUSHED FINISHES

Removing deeper scratches, or a brushed finish on your stainless steel jewelry will require a bit more effort and some specific tools to restore it to its original condition. First you will need to use an abrasive to remove the imperfections. One of the best methods is to use fine grit sandpaper soaked in water. Start with 600 grit. Once the scratch starts to fade, switch to a finer grit sandpaper (800 grit), and then finish with 1200 grit. This will smooth out the surface and prepare it for polishing. Do not use steel wool. You will want to work in the direction of the grain (or fine lines) on the metal, not in a circular motion or against the grain or you will do more harm than good.. Make sure to sand the entire piece so you don't have an uneven surface. Once you have removed the scratches move on to polishing.
POLISHING STAINLESS STEEL
If you have had to use an abrasive to remove imperfections or hammered a stainless steel piece, you will need to polish it to restore its beautiful shine. To do this you will need a few things:

Materials Needed:
-
Stainless Steel Buffing Compound - Make sure it is a buffing compound, specially made for stainless steel. I use this one from Klutch, super affordable and works well!
-
Rotary Tool - I use the battery-powered Dremel 8220 which is no longer sold. Here is a link to the updated version 8240
-
Felt Polishing Pads -I use the ones from this kit
-
Microfiber or Soft Terry Cloth - The ones I use I buy in bulk but these are similar
Polishing Steps:
- Clean the Jewelry:
- Use a non-abrasive cleaner to remove any dirt or grime.
- Prepare the Rotary Tool:
- Attach the felt polishing wheel to your rotary tool.
- Set the speed between 5,000 RPM and 15,000 RPM (I find 10,000 RPM works best).
- Apply the Buffing Compound:
- Turn on the rotary tool and dip the felt pad into the compound until saturated.
- Ensure your workspace is covered, as this can get messy.
- Polish the Jewelry:
- Turn on the rotary tool and gently guide it over the jewelry piece. Let the tool do the work without applying too much pressure.
- After polishing, use a soft cloth to remove excess compound and reveal the shine.
- Repeat the process if necessary for a perfect finish.
CLICK HERE to view my video tutorial on polishing stainless steel jewelry
Polishing stainless steel jewelry may seem daunting at first, but with the right tools and techniques, you can easily maintain its stunning appearance. By addressing minor and major scratches your stainless steel pieces will continue to shine and impress. Follow these steps, and your jewelry will always look as good as new!